Single Sign-On (SSO)
Single Sign-On allows users to authenticate with Headplane through an external Identity Provider (IdP) using the OpenID Connect (OIDC) protocol. When enabled, users sign in through your IdP and Headplane automatically links them to their Headscale identity, assigns a role, and manages their session.
Getting Started
Requirements
You'll need the following before proceeding:
- A working Headplane installation that is already configured.
- An Identity Provider (IdP) that supports OAuth2 and OpenID Connect (OIDC).
server.base_urlset to the public URL of your Headplane instance in your configuration file (the domain visible in the browser).- A Headscale API key with a relatively long expiration time (eg. 1 year).
Configuring the Client
You'll need to create a client in your Identity Provider that Headplane can use for authentication. As part of that step, you'll need to register a "redirect URL" — this is where the IdP sends users after they authenticate.
For Headplane, the redirect URL will be in the following format (replace the domain with the value set for server.base_url):
https://headplane.example.com/admin/oidc/callbackOnce you have created the client, make note of the following:
- Client ID
- Client Secret (if applicable)
- Issuer URL
OIDC Configuration
To enable OIDC authentication in Headplane, add the following to your configuration file:
headscale:
  url: "http://headscale:8080"
  api_key: "<generated-api-key>"

oidc:
  issuer: "https://your-idp.com"
  client_id: "your-client-id"
  client_secret: "your-client-secret"
  # You can also provide the client secret via a file:
  # client_secret_path: "${HOME}/secrets/headplane_oidc_client_secret.txt"

  # These are usually auto-discovered, but can be set manually:
  # authorization_endpoint: ""
  # token_endpoint: ""
  # userinfo_endpoint: ""
  # scope: "openid email profile"
  # extra_params:
  #  foo: "bar"
Headplane automatically discovers OIDC endpoints from your issuer's /.well-known/openid-configuration. If your IdP does not support discovery, you'll need to set the endpoints manually.
PKCE
WARNING
Headplane currently only supports the S256 code challenge method for PKCE. You may need to ensure that your Identity Provider is configured to accept this method.
By default, Headplane does not use PKCE (Proof Key for Code Exchange). PKCE is a best practice for OIDC and enhances security — some IdPs even require it. To enable PKCE:
oidc:
  use_pkce: true
How User Matching Works
When a user signs in via OIDC, Headplane needs to link them to their corresponding Headscale user. This is important for features like showing a user's own machines, self-service pre-auth keys, and WebSSH.
Matching Strategy
Headplane uses a two-step matching strategy:
Subject match (primary): Headscale stores the IdP's
provider_idfor each OIDC user (e.g.https://idp.example.com/3d6f6e3f-...). Headplane extracts the last path segment and compares it to thesubclaim from the OIDC token. If they match, the user is linked.Email match (fallback): If the subject doesn't match, Headplane falls back to comparing the user's email address from the OIDC
userinfoendpoint against the email stored on the Headscale user record.
Once a link is established, it's stored as a headscale_user_id in Headplane's database and reused on subsequent logins — so the matching only needs to succeed once.
Headscale Without OIDC
If your Headscale instance uses local users (created via headscale users create) rather than OIDC, automatic matching cannot work — local users have no provider_id or email to compare against.
In this case, Headplane will prompt the user during onboarding to manually select which Headscale user they are. This selection is persisted, so it only needs to happen once. After linking, all ownership-based features (viewing your own machines, self-service pre-auth keys, WebSSH) work normally.
TIP
If you skip the user selection during onboarding, you can still use Headplane — you just won't have ownership-based features. An admin can manage everything regardless of whether users are linked.
Same Client vs. Different Clients
Recommended
Using the same OIDC client for both Headscale and Headplane is the simplest and most reliable setup. The sub claim will be identical for both services, so subject matching always works.
If your Headscale and Headplane use different OIDC clients, some Identity Providers (notably Azure AD / Entra ID) may issue different sub values per client application. In this case:
- Subject matching will fail on the first login.
- Headplane will fall back to email matching, which requires that the
emailclaim is available from both your IdP'suserinfoendpoint and Headscale's user record. - Once the link is established, subsequent logins will work regardless because the link is persisted.
WARNING
If you use different clients and your IdP does not provide an email claim, Headplane will not be able to match users to their Headscale identity. Users will still be able to sign in, but they won't be linked to a Headscale user — meaning features like viewing their own machines or self-service pre-auth keys won't work.
Roles and Permissions
When SSO is enabled, Headplane uses a role-based access control system to determine what each user can do in the UI.
Available Roles
| Role | Description |
|---|---|
| Owner | Full access to everything. Cannot be reassigned. Automatically granted to the first user who signs in. |
| Admin | Full access except the owner-specific flag. Can manage all users, machines, ACLs, DNS, and settings. |
| Network Admin | Can manage ACLs, DNS, and network settings. Can view machines and users. Can generate pre-auth keys. |
| IT Admin | Can manage machines, users, and feature settings. Can configure IAM. Cannot modify ACLs or DNS. |
| Auditor | Read-only access to everything. Can generate their own pre-auth keys. |
| Viewer | Can view machines and users. Can generate their own pre-auth keys. |
| Member | No UI access. The user exists in Headplane's database but has not been granted any permissions. |
First Login (Owner Bootstrap)
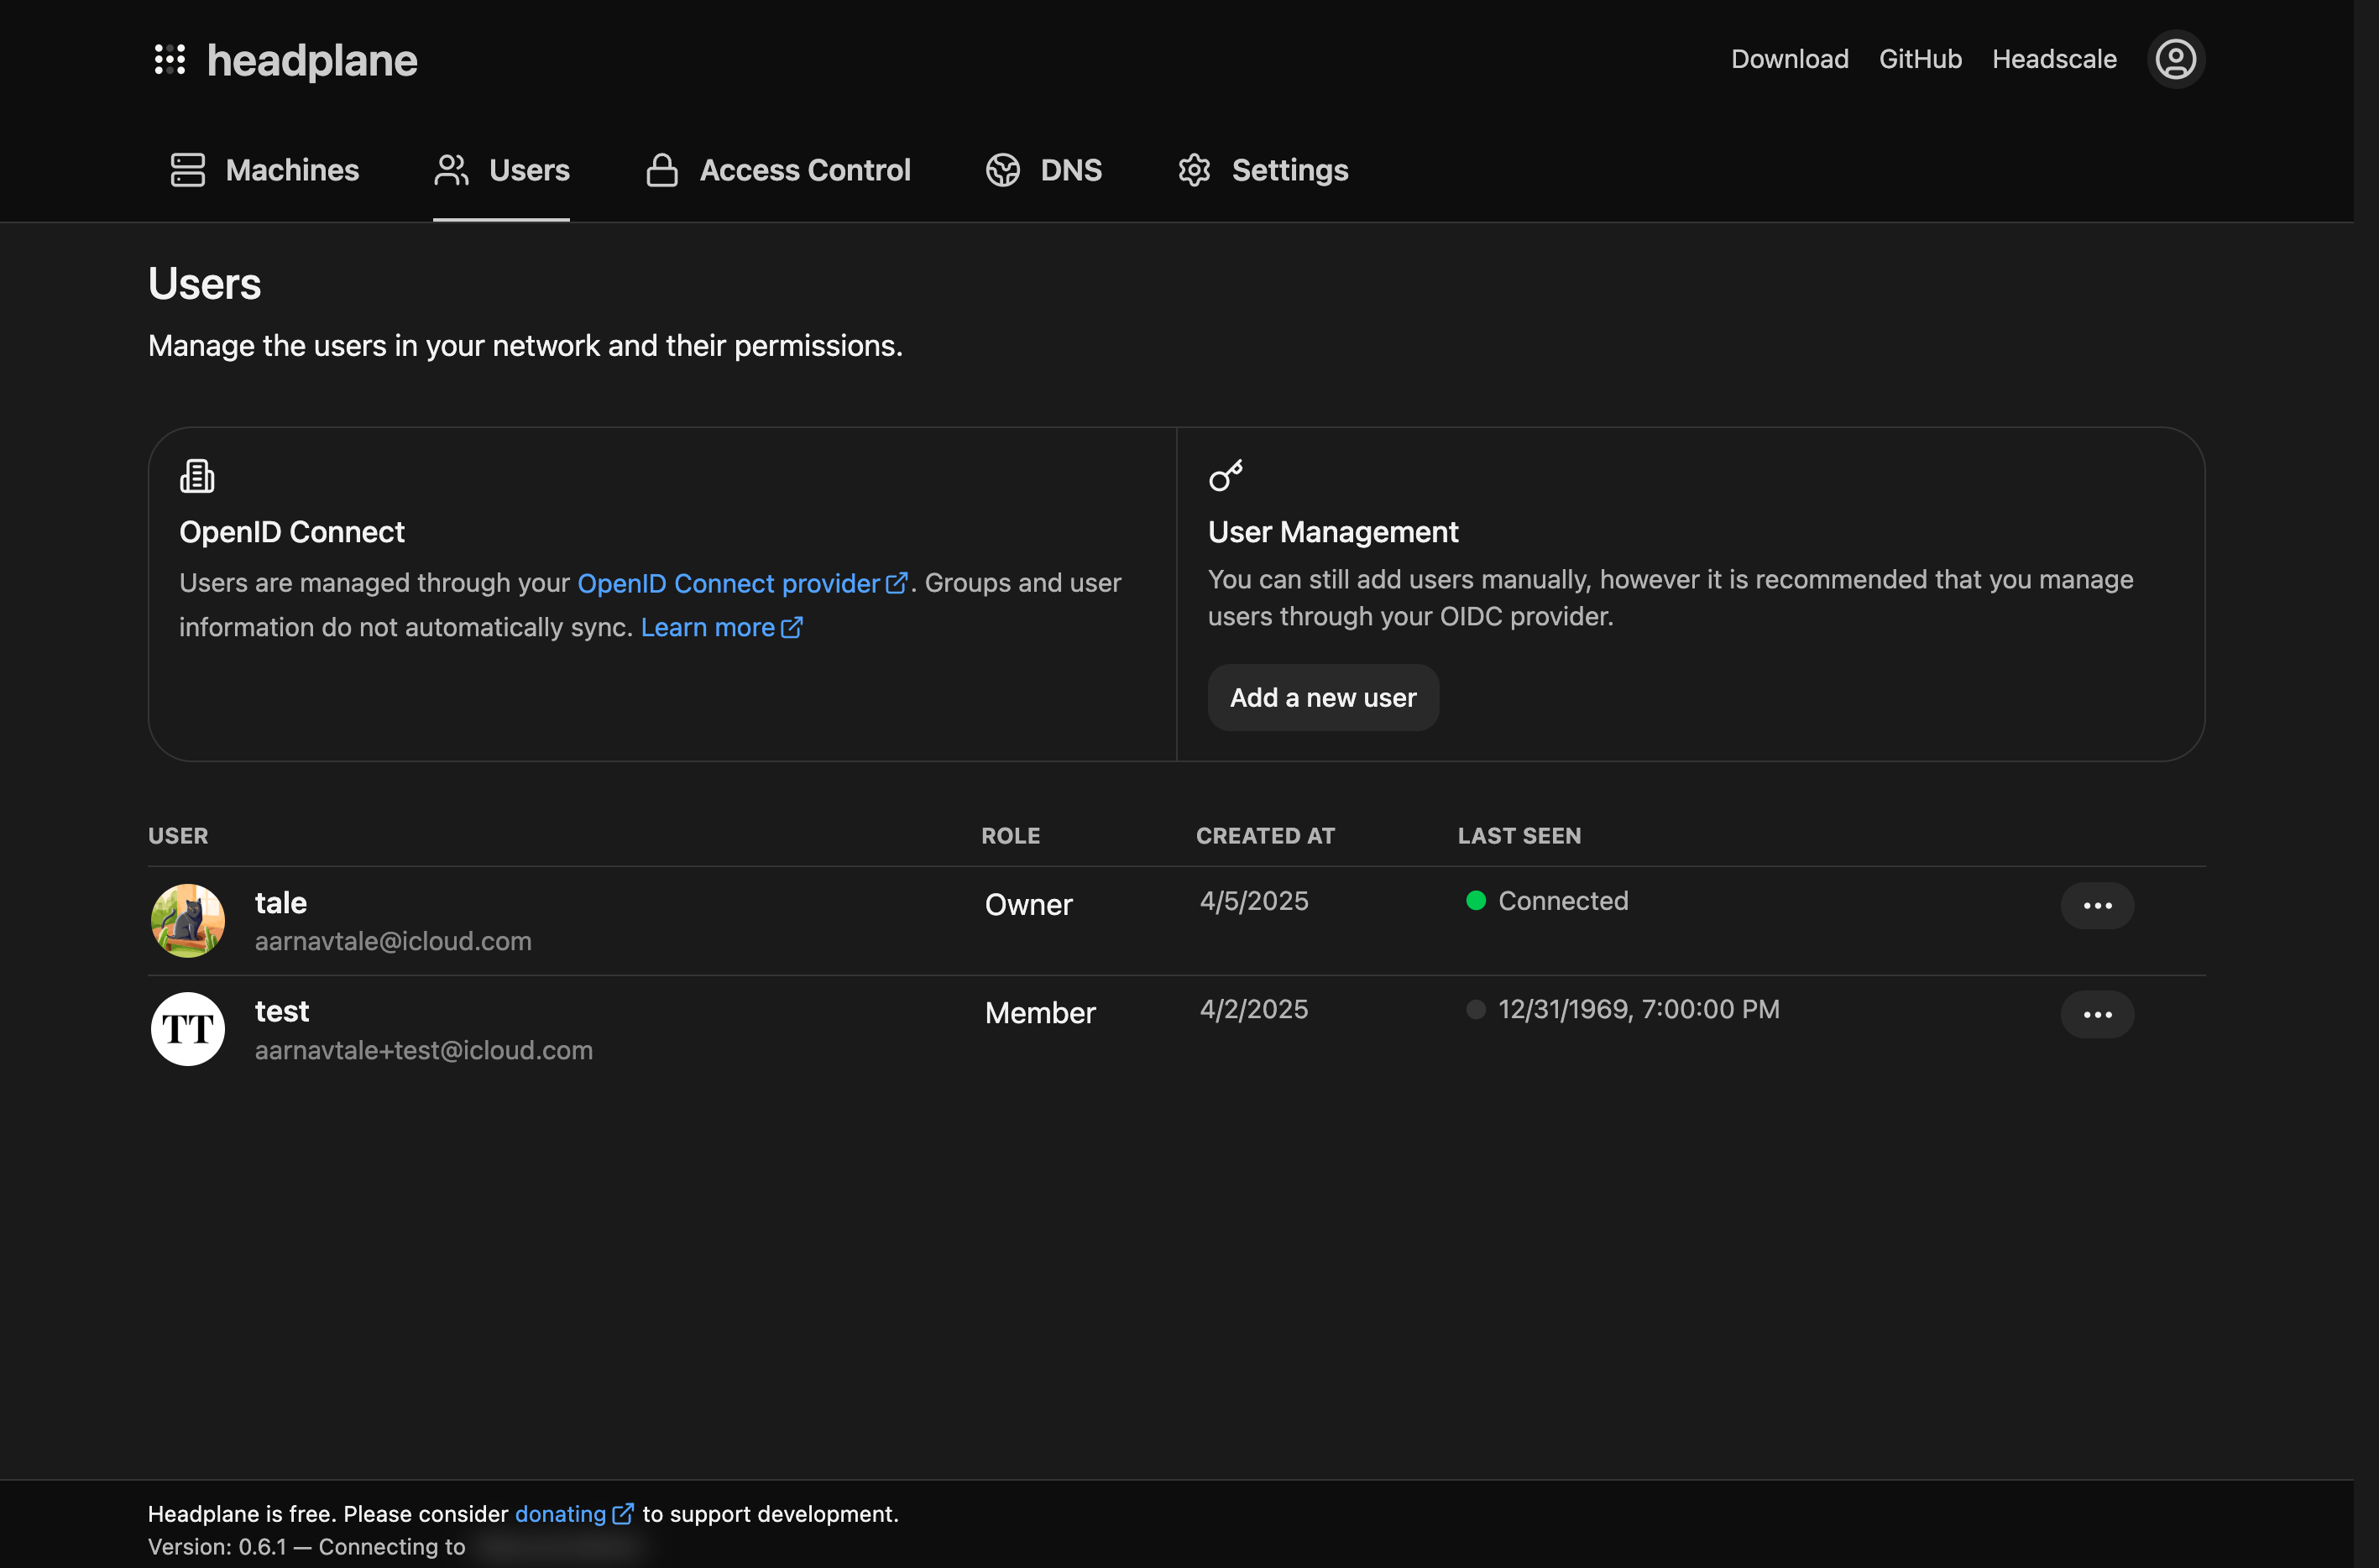
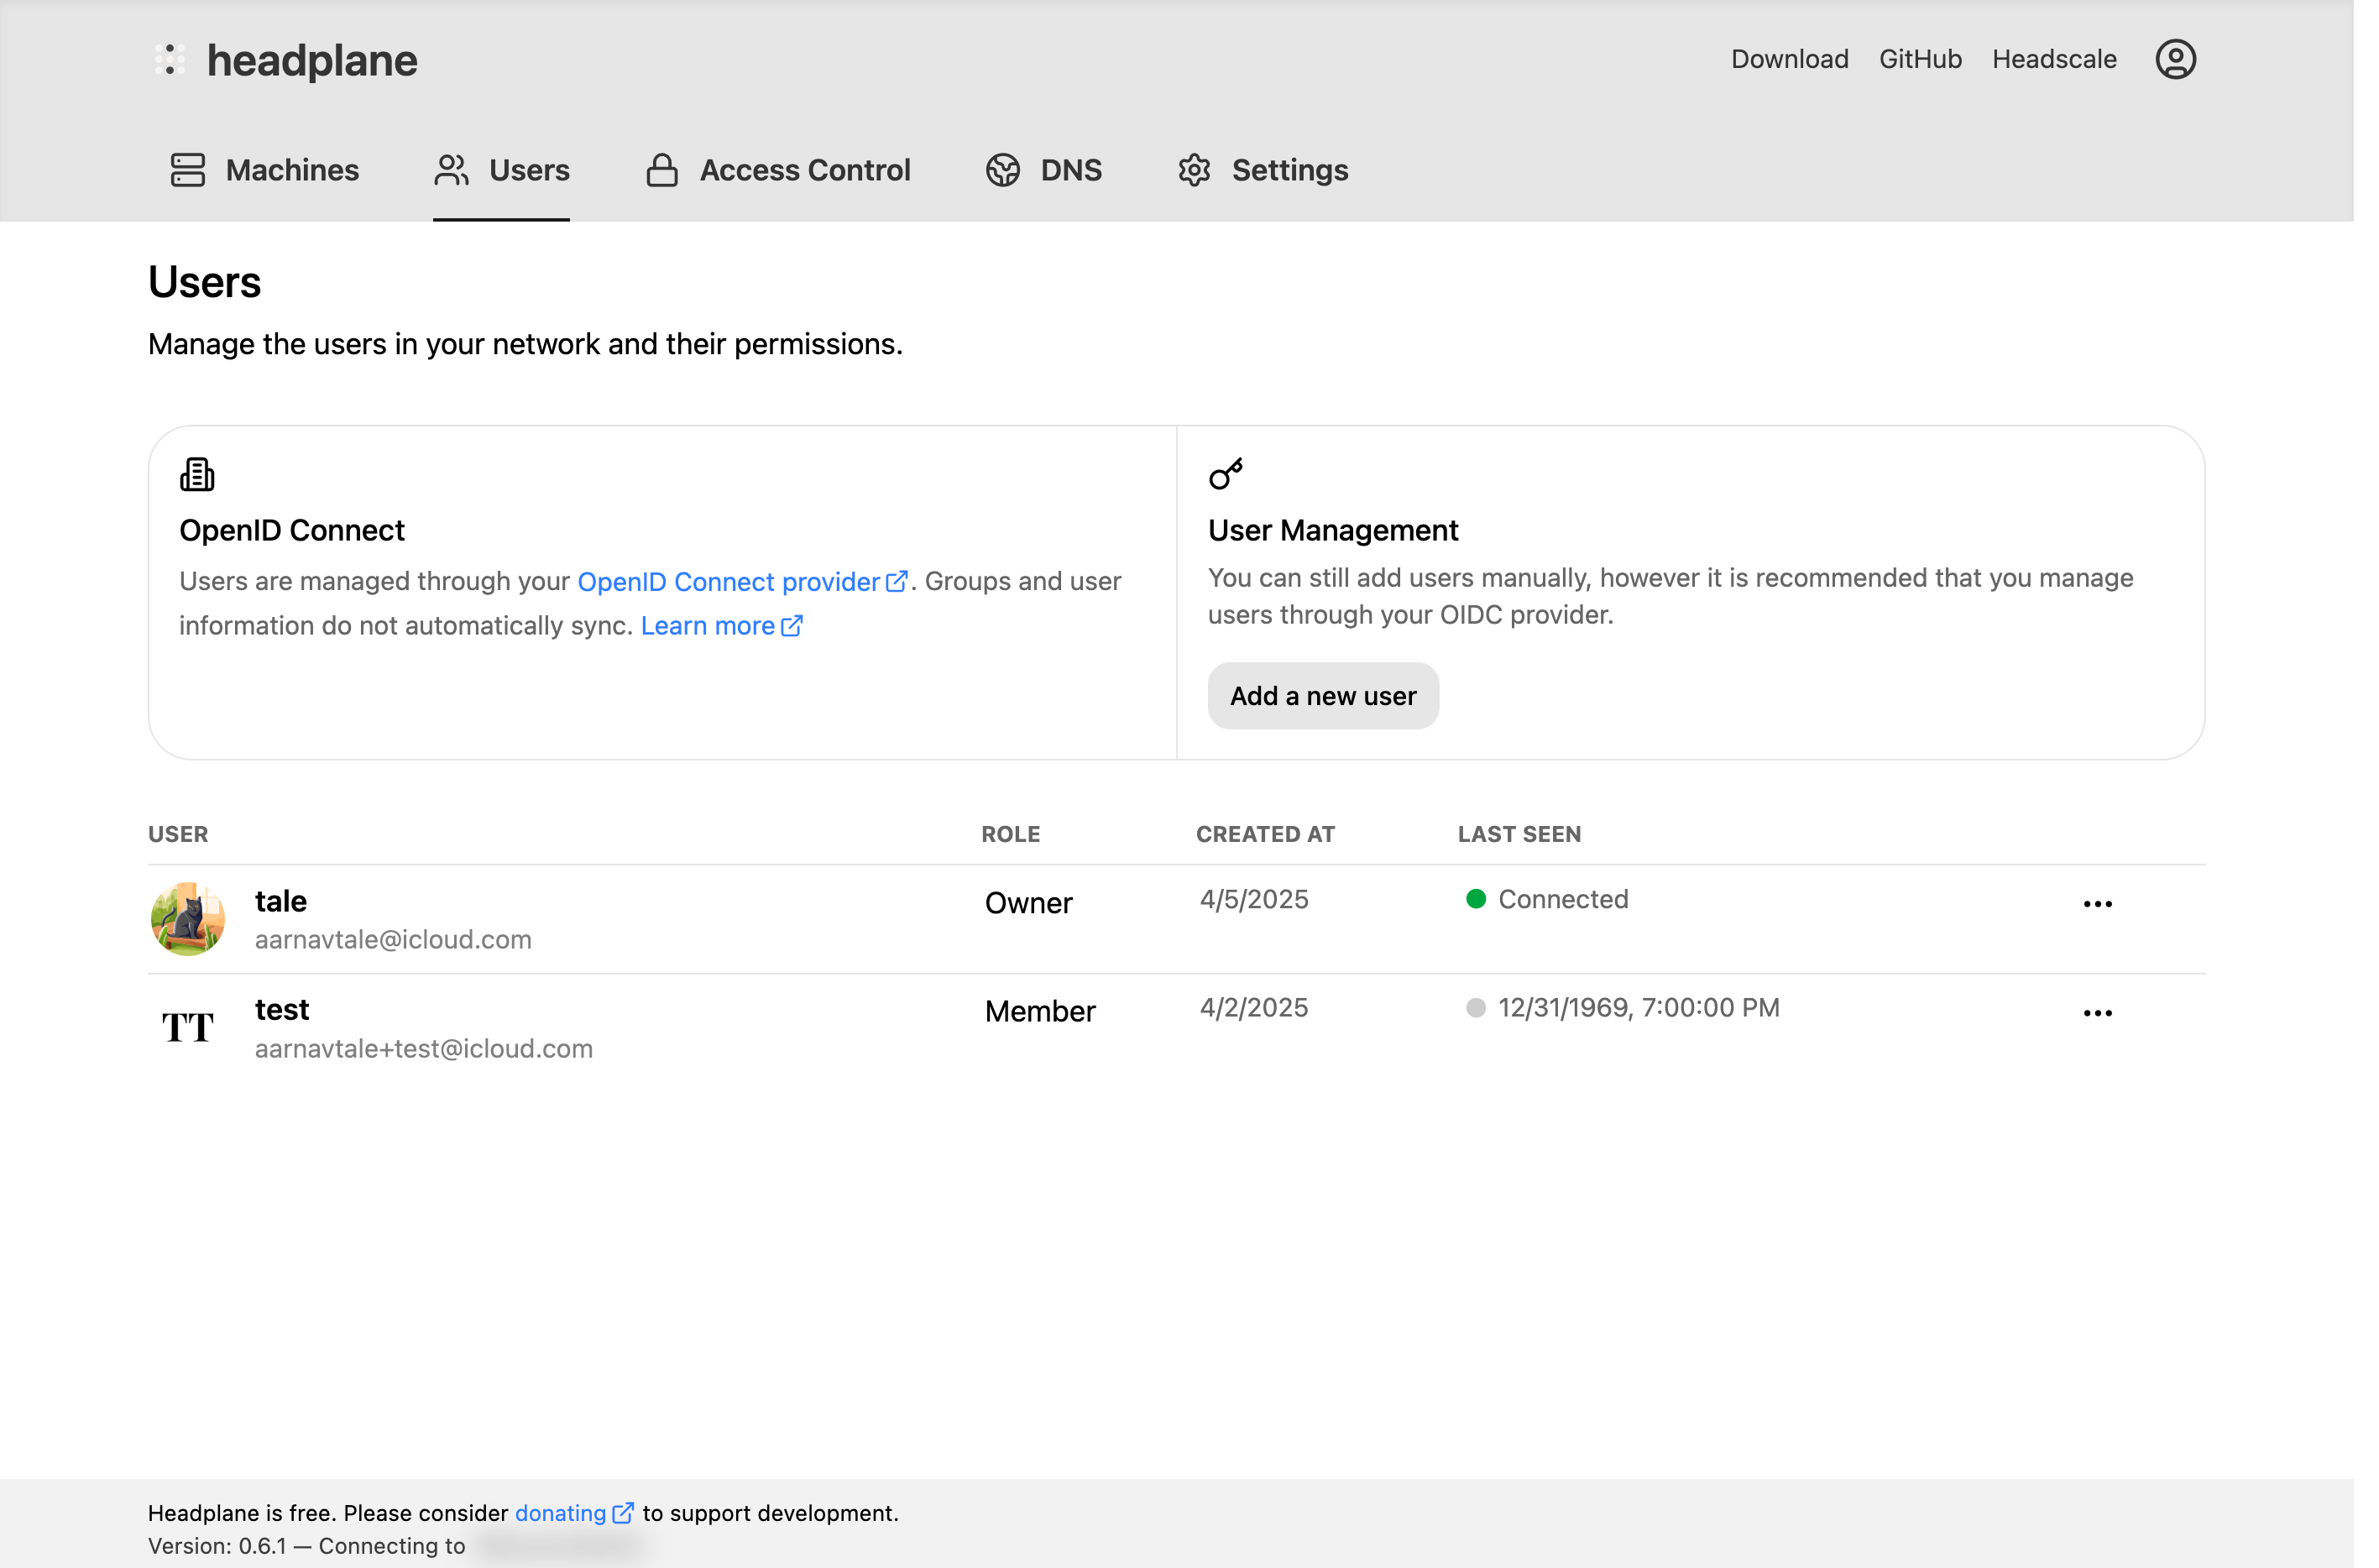
The very first user to sign in via OIDC is automatically assigned the Owner role. All subsequent users are assigned the Member role (no access) by default. An owner or admin must then assign them an appropriate role through the Users page.
API Key Sessions
Users who sign in with a Headscale API key (instead of OIDC) are treated as having full access. API key sessions bypass the role system entirely since possession of the API key already implies administrative access to Headscale.
Onboarding
When a new OIDC user signs in for the first time, they go through a brief onboarding flow that helps them connect their first device to the Tailnet. This flow can be skipped. Once completed, users are taken to the main dashboard.
Troubleshooting
Common Issues
"OIDC is not enabled or misconfigured": Check that your
oidcsection is present in the config and that the issuer URL is reachable from the Headplane server.User signs in but can't see their machines: The user's Headscale identity wasn't matched. Check that either the
subclaim matches or theemailclaim is available (see How User Matching Works)."Session cookie is empty" or login loop: Check your
cookie_securesetting. If Headplane is behind a reverse proxy with HTTPS, set it totrue. If running without HTTPS (eg. local development), set it tofalse.Invalid API Key: The
headscale.api_keymay have expired. Generate a new one withheadscale apikeys create --expiration 999d.Missing the
subclaim: Ensure your IdP includes thesubclaim in the ID token. This is required by the OIDC spec but some providers need explicit configuration.Redirect URI Mismatch: Ensure the redirect URI registered in your IdP matches
{server.base_url}/admin/oidc/callbackexactly.PKCE errors: If your IdP requires PKCE, set
oidc.use_pkce: true. If you see errors mentioningcode_verifier, this is almost always the cause.Missing endpoints: If your IdP does not support OIDC discovery, you'll need to set
authorization_endpoint,token_endpoint, anduserinfo_endpointmanually in the config.